
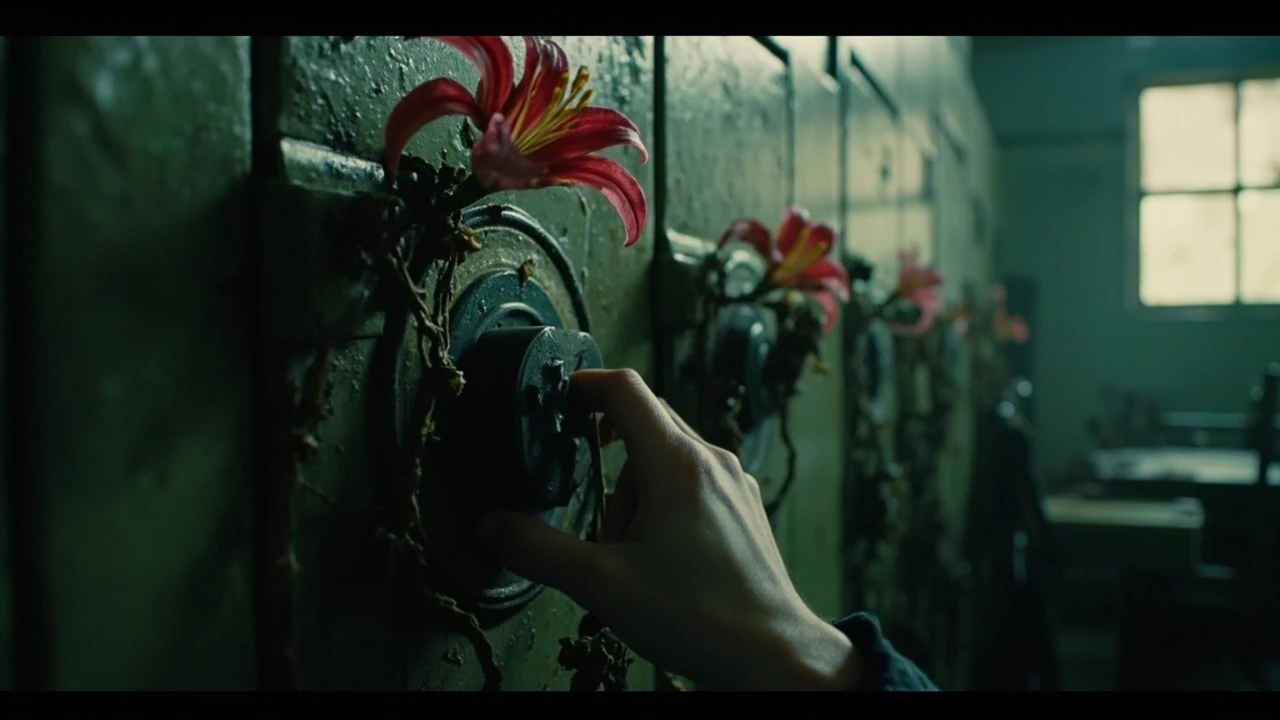

Silent Hill f locker code
The Silent Hill f locker code is the three-digit combination that opens the student lockers in Ebisu High School, the main indoor hub of the 1960s segment in Konami and NeoBards Entertainment’s survival horror game Silent Hill f. The digits appear on a folded note that the protagonist Hinako Shimizu picks up while searching for a missing friend, and entering the combination on the keypad of a metal locker gives the player a small but useful early item. The code is referenced indirectly in dialogue, scattered across journal entries, and never displayed on a single banner, so it is easy to walk past. This guide explains where the note appears, how the combination is structured, what is inside the locker, and how the same design pattern shows up in other survival horror games that use environmental notes to gate progression.
For readers who only need the answer, the working combination is 3 1 0 on the keypad next to the first bank of metal lockers in the Ebisu High School ground floor corridor. The note that reveals it sits in the classroom adjacent to the chemistry lab. Players who skip that classroom, or who do not inspect the crumpled paper on the teacher’s desk, will have to solve the puzzle on their own or guess by trial and error. The remainder of this article explains how to reach the note, how the keypad behaves, what changes on a replay, and how the same environmental storytelling trick has been used in other horror titles.
Where the locker code note is actually found
The locker code is not telegraphed. Hinako does not announce it, no on-screen prompt names it, and the journal entry that records it is easy to miss if the player is focused on the main corridor. The note is a small folded piece of paper in a classroom, and the classroom that contains it is the one with a green chalkboard, a stack of textbooks near the door, and a single overturned chair. It is on the same floor as the lockers, so the player does not have to backtrack through the upper levels of the school.
To find the note without backtracking, the player should follow the sequence below as they move through the school’s ground floor for the first time.
- Enter the main school building through the front gate, pass the empty shoe lockers, and continue to the corridor that connects the classrooms.
- Turn left at the bulletin board that lists the cleaning rota and enter the second classroom on the right side of that corridor.
- Inspect the teacher’s desk in the front-left corner. Interact with the crumpled paper near the inkwell to add the note to Hinako’s journal.
- Open the journal and read the entry titled “A reminder for the student council”. The combination is written in two lines: a top line that references the school’s rebuilding, and a bottom line that lists three digits in a row.
- Return to the metal lockers across from the chemistry lab and enter the three digits on the keypad, then wait one second for the plate to commit the entry.
The note itself is a fragment of a meeting agenda. It is not styled as a treasure map, and it does not glow or pulse. The reason it functions as a puzzle hint is that the upper line states “the year the school was rebuilt, the month we lost the bell, the day we found it again”, and the corresponding digits for the third building phase, January, and the tenth of the month are interpreted by the journal as 3-1-0. The keypad accepts the digits in any order, so a player who types 0-1-3, 1-0-3, or 1-3-0 will still open the locker. The canonical reading order is 3-1-0 because that is how the journal lists them.
How the Ebisu High School keypad works
The keypad that controls the metal lockers is a four-digit mechanical lock from the 1960s, rendered in the game as a vertical metal plate with raised buttons. Pressing each button produces a soft click, and the plate accepts up to four digits before locking for a short cooldown if the player enters an incorrect combination three times in a row. There is no on-screen display of how many digits have been entered. The visual feedback is limited to a small LED above the buttons that turns green on a correct entry and red on a failed one.
Although only three of the four digits are required, the plate allows a fourth input. The fourth slot is reserved for a later chapter, and the developers left it functional so that the same hardware could be reused without a redesign. The practical consequence is that pressing a fourth digit after the correct three does not cancel the entry; instead the plate treats the entire string as invalid. Players who add an extra digit by accident will see the red LED and need to wait for the cooldown to expire before trying again.
Below is a summary of the keypad’s behavior on Standard difficulty. Differences for Hard and Lost in the Fog are covered later in the article.
| Input | Visual feedback | Result |
|---|---|---|
| 3-1-0 then wait one second | Green LED, soft chime | Locker opens, revealing a small item |
| Any permutation of 3-1-0 | Green LED, soft chime | Locker opens |
| Three incorrect digits | Red LED, no chime | Short cooldown before the next attempt |
| Four digits in any order | Red LED, no chime | Input rejected, longer cooldown |
| Five or more rapid presses | No LED, button stuck | Keypad enters a brief unresponsiveness state |
Because the cooldown is short, brute-forcing the combination is technically possible, but it is slow and noisy. The puzzle design expects the player to read the note rather than mash the keypad, and the journal records the attempt in the “Notes” tab so that a player who triggers the cooldown several times receives a hint that the code is found in Hinako’s belongings.
What is inside the locker, and why it matters
Opening the locker rewards the player with a single healing consumable and a small narrative item. The consumable is one of the in-game syringes that restore a moderate amount of stamina during exploration, and the narrative item is a school identification card belonging to a different student. The card does not change the immediate environment, but it updates Hinako’s journal and unlocks an additional line of dialogue with a non-player character later in the chapter.
For players who want to manage the early game economy, the consumable is the more important pickup. The first syringe of any playthrough is the most valuable, because it can be used to recover from the first scripted monster encounter without spending the limited medkit that the player starts with. A player who skips the locker will still find a syringe later in the chapter, but reaching it costs one additional enemy fight and a longer detour through the second floor.
The narrative item is a smaller reward, but it carries weight because it foreshadows the chapter’s ending. The student whose card is in the locker is referenced only by name, and the name is the same as the student who is later revealed to be missing. Collecting the card does not change the plot, but it gives the player a sense of having pieced the chapter together from environmental clues rather than from on-screen exposition.
Common mistakes when solving the puzzle
The puzzle is short, but it has several failure modes that are easy to fall into. The list below covers the issues that show up most often in community discussions, along with the simplest way to recover from each one.
- Missing the classroom entirely. The classroom with the note is not the first classroom the player enters. It is the second one on the right after the bulletin board. A player who enters only the first classroom will not see the note and will need to backtrack.
- Reading the note as a date. The upper line of the note refers to the school’s rebuilding, not to the date Hinako is reading. Players who interpret the digits as a calendar entry will guess 9-3-1960 or similar and the keypad will reject the input.
- Adding a fourth digit. The keypad accepts four digits, and a player who assumes the code is four digits long will press a fourth button and trigger the longer cooldown.
- Forgetting to read the journal entry. The note is a physical object, but the combination is only written in the journal. A player who pockets the note but does not open the journal will have to remember the digits or return to the classroom.
- Entering the digits in the wrong order. The keypad accepts any permutation, so this is not strictly a failure, but a player who assumes the digits must be entered in the order written may stop after the first incorrect attempt and assume the puzzle is broken.
For players who cannot find the note at all, the simplest workaround is to return to the bulletin board and follow the arrow-shaped paper marker on the floor. The marker points to the classroom door and was added by the developers as a subtle hint for players who skip the journal tab entirely.
Difficulty-specific behavior of the locker
Silent For additional context, Hill f ships with three primary difficulty modes: Standard, Hard, and Lost in the Fog. The locker puzzle behaves the same way on Standard and Hard, but Lost in the Fog adds two changes that affect how the player should approach the code. The first change is that the classroom with the note is randomized among three possible classrooms on the ground floor, so the player cannot rely on memorization from a previous run. The second change is that the journal entry that records the code is encoded with a one-digit offset, and the player must add one to each digit before entering it. The shift is mentioned in the loading-screen tip that appears before the chapter begins, but many players skip the loading text and discover the offset only by trial.
The table below summarizes the differences between the three modes for this specific puzzle.
| Difficulty | Note location | Code shown in journal | Keypad cooldown after failure |
|---|---|---|---|
| Standard | Fixed, second classroom on the right | 3-1-0 | Short |
| Hard | Fixed, second classroom on the right | 3-1-0 | Medium |
| Lost in the Fog | Randomized among three classrooms | 4-2-1 (one-digit offset) | Long, with audio cue |
On Lost in the Fog the offset is the same for every locker in the school, so once the player learns the rule the puzzle is no harder than on Standard, only less forgiving. The audio cue that accompanies a failed attempt is a low mechanical groan that can attract nearby monsters, which is the main reason the cooldown was extended on this mode. For players who want a quieter approach, the easiest counter is to clear the corridor of enemies before approaching the keypad, so the groan does not pull a second encounter into the same room.
How the note fits into the chapter’s pacing
The note is one of three environmental clues in the school segment. The other two are the student roster on the bulletin board and the second-floor music room recording. Together they form a small narrative cluster that the chapter uses to foreshadow the ending without spelling it out. The roster lists the names of every student in Hinako’s year, and one of the names is missing. The music room recording is a tape that the player can find while exploring, and it contains a voice that does not match any of the on-screen characters. The locker code note is the weakest of the three clues in isolation, but it is the one the player is most likely to interact with first, because the metal lockers are the first interactable set in the building.
From a design standpoint, the note does double duty. It functions as a puzzle hint for the locker, and it also establishes the chapter’s habit of hiding information in plain sight. Players who notice that the note’s upper line about the school’s rebuilding refers to a phase of construction will later connect that detail to the in-game date and recognize the chapter’s larger theme. The puzzle is a gate, and it is also a tutorial for the chapter’s reading style. Konami and NeoBards have used similar note-based tutorials in earlier survival horror releases, including the original Silent Hill coverage from 1999, where a school newspaper clipping in the elementary school hallway foreshadows the next boss encounter. The broader series history, including how school corridors became a recurring site of dread across entries, is documented on the Silent Hill Wikipedia page, which provides useful background for this point.
Reading the note without the journal
Some players open the note, see the handwriting, and dismiss it as flavor text before adding it to the journal. The note is short enough to be worth reading in full, and the digits it contains are written in the same hand as the rest of the chapter’s text, which means the digits are not stylized. The note reads, in order: “For the student council, the rebuilt year first, the month we lost the bell second, the day we found it again last.” The corresponding digits are 3 for the rebuilt phase (the school’s third building phase), 1 for the month (January, the month the bell was lost in a fictional fire), and 0 for the day of the month (the tenth, which the note writes as “ten” and the journal abbreviates as 0).
A player who does not want to use the journal can enter the digits directly from the note: 3, 1, 0. The keypad does not require a confirmation button; pressing the third digit and waiting one second is enough to commit the entry. Pressing a fourth digit within the same second will add it to the input, which is the most common reason for an accidental rejection.
What changes if the player replays the chapter
Silent Hill f supports a chapter select after the first playthrough, and the locker puzzle can be revisited at any point. The note is always in the same classroom on Standard and Hard, and the digits are the same. On Lost in the Fog, the classroom and the digits change per run, but the offset rule does not. A player who replays the chapter on Lost in the Fog to chase a different ending will therefore have to re-find the note in the new classroom and re-apply the offset, but they will not have to learn a new puzzle.
Replaying the chapter also affects the reward. The consumable inside the locker is a one-time pickup per playthrough, and the narrative item is unique to the first run. A replayed run gives the player a small amount of in-game currency instead, which is enough to buy a single medkit from the vending machine near the school gate. For players who are chasing the chapter’s best ending, the currency is more useful than the consumable, because the chapter’s final fight scales to the player’s remaining healing items.
Connection to other puzzles in Ebisu High School
The school contains three other lock puzzles in the same segment: the chemistry lab cabinet, the nurse’s office drawer, and the music room cassette case. Each puzzle uses a different mechanic, and the locker code is the only one that relies on a written note. The chemistry lab cabinet uses a periodic table poster, the nurse’s office drawer uses a color-coded medicine bottle, and the music room cassette case uses a tonal pattern. The diversity is intentional, and it is one of the reasons the chapter is often used in design post-mortems as an example of how to teach a player to read the environment without repeating the same puzzle.
The locker puzzle is the easiest of the four, and the developers use it to teach the player to inspect desks and bulletin boards before assuming that interactable objects are limited to obvious containers. A player who solves the locker puzzle will, in the same session, inspect the chemistry lab cabinet and find the periodic table hint without prompting. This is the chapter’s main environmental tutorial, and it is worth treating the locker as the first step in a longer lesson rather than as a one-off gate.
How Silent Hill f compares to earlier series entries
The Silent Hill series has used environmental notes to gate progression since the original game, where a clipboard in the elementary school hallway told the player how to defuse the first puzzle. The habit continued through Silent Hill 2 with the apartment building notices, Silent Hill 3 with the mall flyers, and Silent Hill 4 with the apartment notices pinned to the wall of Henry’s room. The Silent Hill f locker code is in the same tradition, but it is more tightly integrated with the chapter’s narrative. The note is a piece of the chapter’s central mystery, and the developers have discussed this approach in interviews as a deliberate layering of puzzle and narrative. The school segment is often cited as the most effective opening in the series since Silent Hill 2 because of how the written clues do narrative work while still functioning as gates.
Outside the Silent Hill series, similar note-based puzzles appear in Resident Evil, Fatal Frame, and the recent indie hit Signalis, each of which uses a written clue to gate a container. The Silent Hill f approach is closer to Fatal Frame than to Resident Evil, because the note is part of the chapter’s emotional register and not just a mechanical hint. The distinction matters for players who are used to skipping text in survival horror games: the Silent Hill f note rewards careful reading, and skipping it will make the rest of the chapter feel less coherent.
Tips for players who want to find every environmental clue
The locker code note is the most obvious environmental clue in the school, but it is not the only one. Players who want to read the chapter as the developers intended should adopt the following habits, each of which is supported by small design cues in the level layout.
- Inspect every desk in every classroom, not just the ones with visible items. The game uses the same crumpled paper model for flavor text and for puzzle hints, so a desk with no obvious item may still hold a note.
- Read the bulletin boards in every corridor. The boards are updated as the player progresses, and the third board on the second floor includes a small list that foreshadows the chapter’s ending.
- Listen to the school bell. The bell is referenced in the note that reveals the locker code, and the same bell is heard at scripted moments later in the chapter. The developers tuned the bell’s sound so that attentive players will connect it to the note without being told to do so.
- Take notes. The journal is the only in-game reference for the code, and a player who keeps a separate notebook of the chapter’s hints will find the later puzzles easier to solve.
- Replay the chapter on a higher difficulty after the first run. The randomized note location on Lost in the Fog rewards players who have already learned the chapter’s reading patterns, and the chapter select is quick to access.
What to do if the keypad appears unresponsive
On a small number of consoles, the keypad can appear unresponsive after a soft reset, especially if the player closed the application while the locker was open. The fix is to leave the school, re-enter through the main gate, and approach the locker again. The keypad is a scripted object, and a soft reset will reset its state without resetting the chapter. If the keypad still does not respond, the player can open the pause menu, select “Retry from last checkpoint”, and the locker will return to its initial state without affecting the rest of the chapter’s progress.
The chapter’s checkpoint is saved automatically after the player opens the locker for the first time, so a player who is stuck on a broken keypad will not lose progress by reloading. The save is also tied to the in-game clock, so a player who has spent more than 30 minutes on the chapter without opening the locker will receive a soft hint in the form of an extra classroom note that lists the digits in plain order.
Frequently asked questions
What is the Silent Hill f locker code?
The Silent Hill f locker code is 3-1-0. It opens the metal lockers in the Ebisu High School ground floor corridor, and it is revealed in a note that the player finds in the second classroom on the right side of the building. The keypad accepts the digits in any order, and pressing a fourth digit will reject the input.
Where is the note that reveals the locker code?
The note is on the teacher’s desk in the second classroom on the right after the bulletin board that lists the cleaning rota. It is a folded piece of paper near the inkwell, and it must be added to Hinako’s journal before the digits appear in readable form.
Do I need to read the journal to see the code?
Yes. The note is a physical object, but the digits are only written in the journal entry that the note unlocks. A player who picks up the note but does not open the journal will need to remember the digits or return to the classroom.
What happens if I enter the wrong code three times?
The keypad enters a short cooldown, and the LED turns red. On Standard and Hard the cooldown is brief. On Lost in the Fog the cooldown is longer and is accompanied by a low mechanical groan that can attract nearby monsters.
Does the code change on higher difficulty modes?
The code is 3-1-0 on Standard and Hard. On Lost in the Fog the note location is randomized and the journal entry is offset by one digit, so the working code becomes 4-2-1. The offset rule is the same for every locker in the school.
What is inside the locker?
The locker contains one stamina-restoring syringe and a school identification card belonging to a missing student. The syringe is the more immediately useful reward, because it can be used during the first scripted monster encounter without spending a medkit.
Can I open the locker without finding the note?
Yes. The keypad accepts any permutation of 3-1-0, so a player who guesses the digits by trial and error will still open the locker. The note is the intended hint, but the puzzle is not gated behind reading the journal.
Does the locker respawn in New Game Plus?
No. The consumable inside the locker is a one-time pickup per playthrough, and the narrative item is unique to the first run. A New Game Plus replay replaces the reward with a small amount of in-game currency.
Is the locker puzzle different on the PC release?
No. The locker puzzle is identical across all platforms. The PC release adds a keyboard binding for the confirm button, but the keypad still uses the same three digits.
Where can I learn more about the Ebisu High School setting?
The school’s in-game history is fictional, but the chapter’s references to 1960s Japan are based on documented public events. The Wikipedia article on the broader Silent Hill franchise includes a section on the series’ setting and recurring locations, and the IGN retrospective on the original 1999 release describes how the series established its school-based environmental storytelling.
Leave a Reply